What if the biggest danger in your surf session isn’t the wave in front of you, but the invisible river pulling you away from shore?
Rip currents are one of the most common hazards surfers face, and they can turn a routine paddle-out into a fight for control in seconds.
This guide breaks down how rip currents form, how to spot them before you enter the water, and what to do if you get caught in one.
Whether you’re learning to surf or chasing heavier breaks, understanding rip current safety gives you a critical edge every time you paddle out.
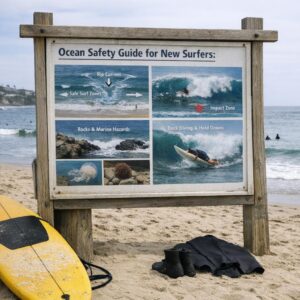
Rip Current Basics for Surfers: How They Form, Where They Appear, and Why They’re Dangerous
Rip currents form when breaking waves push water toward the beach and that water escapes back offshore through the path of least resistance. For surfers, this often happens beside sandbars, near jetties, around piers, or in deeper channels where the water looks deceptively calmer than the surrounding whitewater.
A practical clue is contrast: if one strip of water has fewer breaking waves, a darker color, foam moving seaward, or a “river-like” surface, treat it as a possible rip. Before paddling out, check a reliable surf forecast and beach hazard report on Surfline, Magicseaweed alternatives, or local lifeguard websites, especially after storms or strong tidal swings.
- Near structures: piers, groins, and rock walls can funnel water offshore quickly.
- Between sandbars: gaps in breaking waves may mark deeper rip channels.
- During changing tides: outgoing tide can increase current strength at some beaches.
The danger is not that a rip “pulls you under”; it pulls you away from shore and burns your energy if you fight it. I’ve seen experienced surfers get surprised on beach breaks where the paddle-out looked easy, only to end up 50 yards farther down the beach within minutes.
Use rips intelligently, but don’t get casual. A leash, bright rash guard, waterproof GPS watch, and basic surf safety training can reduce risk, but your best tool is still reading the water before you enter.
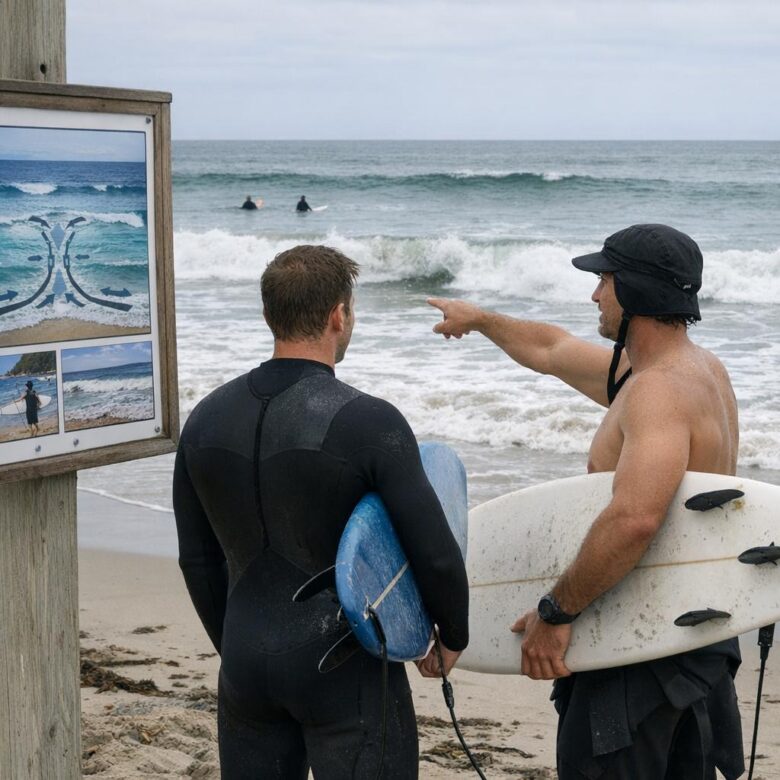
How to Spot and Respond to Rip Currents Before and During a Surf Session
Before paddling out, spend five minutes watching the lineup from a higher point if possible. Rip currents often show as darker, deeper-looking channels, gaps between breaking waves, choppy water moving seaward, or foam and debris drifting away from shore. A surf forecast app like Surfline can help you compare tide, swell direction, wind, and lifeguard reports before deciding whether the session is worth the risk.
Real-world tip: on beach breaks, the safest-looking “calm” patch between whitewater can actually be the rip. I’ve seen surfers paddle straight into that smooth channel because it looked easier, only to get pulled 40 yards outside before realizing they were no longer in position.
- Before entering: identify fixed landmarks on shore so you can tell if you are drifting.
- During the session: check your position after every few waves or duck dives.
- If caught: do not paddle directly against the current; paddle sideways across it, then angle back in with breaking waves.
If you are tired, ditch pride early and signal for help by raising one arm. A waterproof GPS watch, bright rash vest, or inflatable surf safety vest can add an extra layer of protection, especially at remote beaches where rescue response may take longer. The cost of basic safety equipment is small compared with emergency medical care, lost boards, or a preventable rescue situation.
Common Rip Current Safety Mistakes Surfers Make-and How to Avoid Them
One of the biggest mistakes surfers make is treating rip current safety as something only beginners need to worry about. Experienced surfers often paddle out because the waves look “manageable,” but a strong channel beside a sandbar can drain energy fast, especially after a long session or in colder water.
A common real-world example is the surfer who checks wave height but ignores tide movement and wind direction. Before paddling out, compare the beach view with a reliable surf forecast platform like Surfline or local lifeguard updates, then identify where water is moving seaward, where waves are not breaking, and where you would exit if conditions change.
- Mistake: Paddling straight against the rip. Fix: Stay calm, conserve energy, and paddle parallel to the beach before angling back in.
- Mistake: Surfing alone at unfamiliar breaks. Fix: Go with a partner, especially when traveling or surfing remote beaches.
- Mistake: Skipping safety gear. Fix: Use a quality leash, bright rash guard, waterproof GPS watch, or personal locator beacon when conditions justify the cost.
Another overlooked error is relying too much on board volume or fitness. A bigger board helps you float, but it will not make poor decisions safer; knowing when to sit out is often the best risk management tool.
Also, avoid surfing directly near piers, jetties, and stormwater outlets where currents can be stronger and more unpredictable. If lifeguards are on duty, ask about rip current zones before entering; that 30-second conversation can be more valuable than any surf accessory.
Expert Verdict on Rip Current Safety Guide: How Surfers Can Reduce Risk in the Water
Rip current safety starts before you paddle out. If the surf looks confusing, the lineup is empty for a reason, or you feel underpowered for the conditions, choose a safer break or stay on shore. In the water, stay calm, conserve energy, and avoid fighting the current directly. Your best tool is judgment: know the signs, respect local warnings, surf with others, and keep enough fitness to handle the unexpected. The right decision is not always to charge-it is to return home safely, ready for the next session.