Ever driven to the beach for “good surf” and found blown-out mush?
A surf forecast can save you that wasted trip-if you know how to read beyond the wave height. Swell size, period, direction, wind, tide, and local bathymetry all decide whether a session will be clean, powerful, crowded, or barely worth paddling out.
This guide breaks down the key forecast numbers in plain English, so you can spot the difference between a promising window and a misleading report. Before you wax your board or pack the car, learn how to translate the data into real conditions at your beach.
What Surf Forecast Numbers Mean: Swell, Wind, Tide, and Wave Height Explained
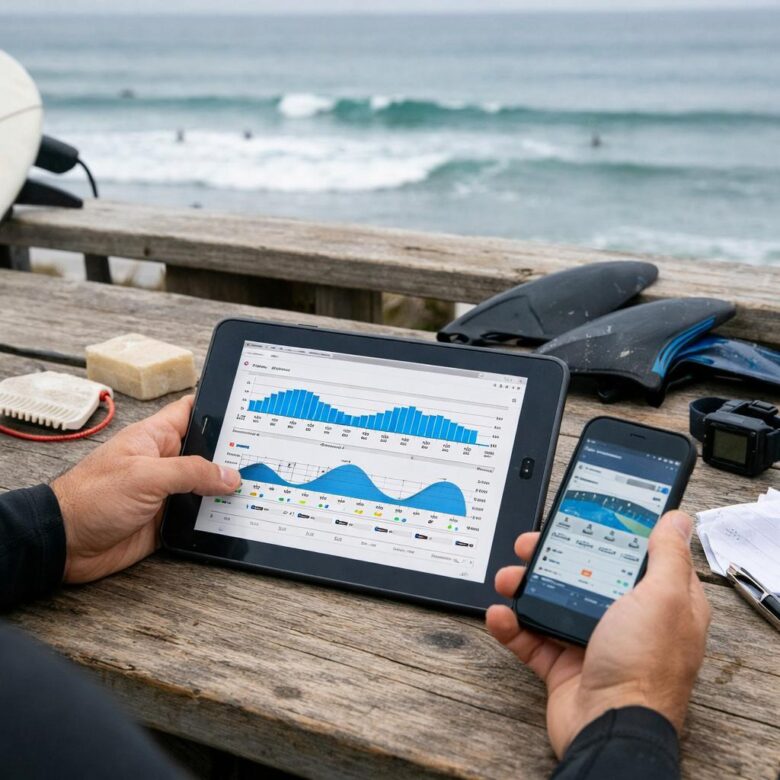
Surf forecasts can look technical, but a few numbers tell you most of what you need to know before driving to the beach. On tools like Surfline, Magicseaweed-style reports, or local buoy data, focus first on swell height, swell period, wind direction, tide, and predicted wave height.
- Swell height and period: A 3 ft swell at 14 seconds usually has more power than a 5 ft swell at 6 seconds. Longer-period swell travels farther and can create cleaner, stronger waves, especially on exposed beaches.
- Wind direction and speed: Offshore wind often grooms the wave face, while strong onshore wind can make conditions choppy. Light wind under 10 mph is usually better for beginners and longboard sessions.
- Tide: Some breaks work best on low tide, others need mid or high tide. Checking a tide chart or surf forecast app before leaving can save fuel, parking costs, and wasted time.
Wave height is the number most surfers notice first, but it can be misleading. A forecast showing 2-3 ft waves might be perfect at a sheltered beginner beach, while the same swell could be overhead at a reef or sandbar that magnifies swell direction.
Real-world example: if your surf report shows a 4 ft swell at 12 seconds, light offshore wind, and a mid incoming tide, that is often worth checking in person. I’ve seen average-looking forecasts turn into excellent sessions simply because the tide matched the sandbar well.
For better planning, compare the forecast with a live surf cam, nearby wave buoy, and your own notes from past sessions. Over time, that combination is more reliable than any single surf forecasting service.
How to Match Forecast Conditions to Your Skill Level and Local Break
Reading a surf forecast is only useful if you compare it with your ability and the way your local break actually behaves. A 4-foot swell at a soft beach break may be fun for an intermediate surfer, while the same size at a shallow reef can mean fast drops, heavy hold-downs, and expensive board repair.
Start by checking swell height, period, wind direction, and tide on a reliable surf forecast app like Surfline or Magicseaweed. Then match those numbers to what you already know from past sessions, local surf schools, lifeguards, or experienced surfers who ride that beach often.
- Beginners: Look for 1-3 ft waves, light offshore or calm winds, and a forgiving sand bottom.
- Intermediates: Aim for cleaner 3-5 ft surf with manageable currents and enough tide to avoid closeouts.
- Advanced surfers: Bigger swell, longer periods, and reef or point breaks can work, but only with strong paddling fitness and local knowledge.
A real-world example: if your beach closes out at low tide, a forecast showing 4 ft at 12 seconds may look exciting online but feel frustrating and risky in the water. Waiting for mid tide could turn the same swell into cleaner, more rideable peaks.
Also factor in practical costs and safety gear. If the forecast calls for colder water, strong rip currents, or crowded weekend conditions, investing in the right wetsuit, surfboard leash, premium forecast subscription, or even a local surf lesson can make the session safer and more productive.
Common Surf Forecast Reading Mistakes That Lead to Poor Beach Sessions
One of the biggest mistakes is looking only at wave height and ignoring swell period, wind direction, and tide timing. A forecast showing 4 ft can mean clean, powerful surf with a long-period groundswell, or weak, messy waves if the period is short and the wind is onshore. Always check the full surf report on tools like Surfline, Magicseaweed-style forecast charts, or local buoy data before loading the board.
Another common error is trusting a single forecast model without checking real-time conditions. I’ve seen surfers drive 45 minutes for a “good” morning session, only to find blown-out waves because the wind arrived two hours earlier than predicted. A quick look at live beach cameras, marine weather apps, and tide charts can save fuel cost, parking fees, and wasted time.
- Ignoring tide windows: Some breaks only work on mid tide, while others shut down completely at high tide.
- Misreading wind: Offshore wind usually cleans up waves, but strong offshore wind can make takeoffs difficult.
- Forgetting local exposure: A beach may be flat if the swell direction does not reach it properly.
Do not assume a premium surf forecast subscription guarantees perfect conditions either. Paid forecast apps, surf cams, GPS tide watches, and marine weather services are helpful decision-making tools, but local knowledge still matters. Compare the forecast with what you know about the spot’s sandbanks, crowds, parking access, and board choice before committing to a beach session.
Summary of Recommendations
Reading a surf forecast well is less about chasing the biggest numbers and more about making the right call for your ability, equipment, and local beach. Use the forecast as a decision tool, not a guarantee: compare swell, wind, tide, and period, then confirm conditions with webcams or a quick beach check when possible.
The best session is the one that matches your goals safely. If the data points align, go prepared. If they don’t, adjust your spot, timing, or expectations-and sometimes, choose another day.